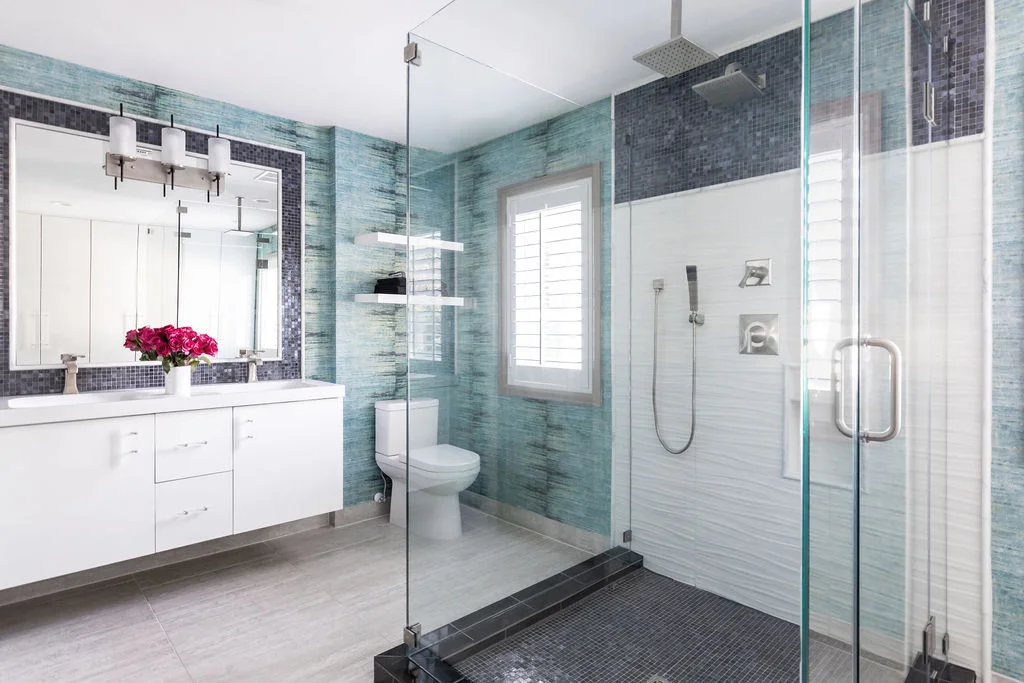
A proper bathroom installation in Tomball, TX, follows a systematic 11-step sequence beginning with planning and permits, progressing through demolition, rough-in plumbing and electrical work, structural modifications, waterproofing, fixture installation, and finishing with final inspections to ensure code compliance and lasting quality.
Remodeling a bathroom requires precise sequencing to prevent costly mistakes and ensure building code compliance. Whether you're upgrading a master suite or refreshing a guest bath, understanding the correct installation order protects your investment and streamlines the construction timeline. Working with an experienced custom home builder in Tomball, Texas ensures local building regulations and climate considerations properly influence material selection and installation methods. Following a proven sequence prevents rework, safeguards against moisture damage, and delivers professional results that enhance your home's value and functionality.

• Schedule permit approval before demolition begins to ensure your bathroom remodel meets Tomball's building codes and avoid project delays or costly violations that could halt construction.
• Complete all rough-in plumbing and electrical work before closing walls since repositioning pipes or wiring after drywall installation increases labor costs by 40-60% and extends timelines significantly.
• Install bathtubs and shower units immediately after wall boarding because these heavy fixtures require structural access and must be waterproofed before surrounding tile work begins.
• Protect installed fixtures with heavy-duty covering throughout the renovation to prevent damage from construction debris, with professional-grade tub liners preventing up to $800 in repair costs.
• Reserve flooring installation until after wall painting and tiling since this sequence prevents scratches, stains, and damage to expensive materials like natural stone or porcelain tile.
• Conduct final inspection within 48 hours of project completion to verify all installations meet Texas building standards and resolve any deficiencies while contractors remain on-site.
The foundation of any successful bathroom renovation begins with meticulous planning and adherence to a logical installation order. Each phase builds upon the previous work, creating a cascade effect where mistakes early in the process compound into expensive corrections later. Professional contractors in Tomball follow time-tested protocols that account for local building requirements, climate-specific moisture challenges, and the unique characteristics of Houston-area construction.
Following the correct sequence protects vulnerable materials from damage, ensures inspectors can access rough-in work before it's concealed, and allows proper curing time for materials like mortar, grout, and paint. Attempting to skip steps or reorder the process typically results in failed inspections, damaged finishes, or structural issues that compromise the bathroom's long-term performance.
Before any physical work begins, comprehensive planning establishes the project scope, budget parameters, and timeline expectations. This preparatory phase determines fixture locations, identifies necessary structural modifications, and ensures all work complies with local regulations. Tomball requires permits for bathroom remodels involving plumbing relocations, electrical upgrades, or structural alterations, with applications submitted to the city's building department at least 10-14 days before construction starts.
Professional design services create detailed layouts showing exact fixture placements, plumbing configurations, electrical outlet locations, and lighting plans. These documents serve as blueprints during construction and provide inspectors with clear references during code compliance reviews. Budgets established during this phase account for materials, labor, permits, and a 15-20% contingency for unexpected conditions discovered during demolition.
Planning Phase Checklist:
• Develop detailed floor plans with fixture locations
• Select all materials, finishes, and fixtures before demolition
• Submit permit applications with complete documentation
• Establish realistic timelines accounting for inspection schedules
• Identify load-bearing walls requiring structural engineering approval
• Order long-lead items like custom vanities or specialty tile
| Planning Component | Timeline | Cost Range |
| Design consultation | 1-2 weeks | $500-$2,500 |
| Permit processing | 10-14 days | $150-$400 |
| Material selection | 2-3 weeks | Varies by scope |
Once permits are secured, demolition removes existing fixtures, finishes, and materials down to bare studs and subfloor. This phase reveals hidden conditions like water damage, outdated wiring, or plumbing issues that influence project scope and budget. Contractors in Tomball commonly encounter moisture damage in bathrooms built before 2000, requiring additional remediation before new construction begins.
Systematic demolition preserves structural elements while removing everything slated for replacement. Professionals disconnect plumbing and electrical services first, then remove fixtures, vanities, flooring, and wall surfaces in reverse order of original installation. This approach minimizes dust, contains debris, and exposes the workspace completely for the next construction phases.
Demolition frequently uncovers conditions not visible during initial assessments. Subfloor rot from chronic leaks, outdated galvanized plumbing, or insufficient electrical circuits require immediate attention before reconstruction proceeds. Experienced bathroom remodel contractors budget contingency funds specifically for these discoveries, preventing project delays when remediation becomes necessary.
Structural modifications identified during demolition may include removing non-load-bearing walls, relocating doors, or installing additional floor joists to support heavy tile installations. Any changes to structural elements require building department approval and possibly structural engineering review, particularly in older Tomball homes where construction standards differed from current codes.
| Demolition Task | Duration | Disposal Method |
| Fixture removal | 2-4 hours | Donation or landfill |
| Flooring tear-out | 3-5 hours | Construction dumpster |
| Wall surface removal | 4-6 hours | Debris hauling service |
After demolition exposes the workspace completely, rough-in plumbing and electrical work establishes the infrastructure supporting all bathroom functions. Licensed plumbers relocate water supply lines, install drain waste vent (DWV) systems, and position stub-outs for toilets, sinks, showers, and tubs according to approved plans. Simultaneously, electricians run circuits for lighting, exhaust fans, GFCI outlets, and heated floors if specified.
This phase demands precise measurements since fixture locations are permanently established once walls close. Shower valves install at 48 inches above finished floor height, toilet flanges position 12 inches from finished back walls, and sink supply lines align with vanity configurations. Professional installers verify all measurements against actual fixture specifications rather than standard dimensions, preventing costly adjustments later.
Tomball follows Texas building codes requiring GFCI protection for all bathroom outlets, dedicated circuits for high-draw appliances like heated towel racks, and proper venting for plumbing fixtures to prevent trap siphoning. Exhaust fans must vent directly to building exteriors, not into attics, with minimum airflow capacities of 50 CFM for bathrooms under 100 square feet.
Plumbing rough-in includes installing shutoff valves for every fixture, positioning them for easy access during future maintenance. Water hammer arrestors prevent pressure spikes that damage pipes and create noise, while expansion loops accommodate thermal expansion in long pipe runs. All supply lines require proper securing every 32 inches to prevent vibration and premature failure.
Rough-In Requirements:
• Install GFCI outlets within 36 inches of water sources
• Position exhaust fan switches outside shower splash zones
• Verify shower valve compatibility with selected trim kit
• Install access panels for tub/shower valves in accessible locations
• Slope drain lines minimum ¼ inch per foot for proper drainage
• Test all supply lines at 80 PSI for 2 hours minimum
| System Component | Code Requirement | Inspection Point |
| GFCI outlets | All bathroom receptacles | Rough-in electrical |
| Drain slope | ¼" per foot minimum | Rough-in plumbing |
| Exhaust fan CFM | 50 minimum (under 100 sq ft) | Final mechanical |
Before installing insulation or wall boards, all rough-in work requires inspection and approval from Tomball's building department. Inspectors verify plumbing connections, test pressure on supply lines, confirm proper drain slopes, and ensure electrical work meets National Electrical Code standards. Scheduling these inspections strategically prevents project delays, with most jurisdictions requiring 24-48 hours notice for inspection requests.
Failed inspections halt progress until deficiencies are corrected and re-inspection occurs. Common issues include improper fixture spacing, missing GFCI protection, inadequate pipe support, or drain lines with insufficient slope. Working with experienced contractors familiar with local inspection standards minimizes rejection risk and keeps projects on schedule.
Once rough-in inspections pass, insulation fills exterior wall cavities to improve energy efficiency and sound dampening between rooms. Bathrooms benefit from R-13 or higher insulation values, with special attention to exterior walls and spaces above shower enclosures where moisture and temperature differentials create condensation risks.
Wall boarding in wet areas requires moisture-resistant materials like cement board, fiber-cement panels, or water-resistant gypsum board (green board or purple board). Standard drywall lacks the moisture resistance necessary for long-term performance in shower enclosures or tub surrounds. Cement board provides the most durable substrate for tile installations, offering dimensional stability and mold resistance superior to other options.
Professional bathroom installations include redundant waterproofing layers protecting structural elements from moisture infiltration. After cement board installation, contractors apply liquid or sheet waterproofing membranes to shower floors, walls, and tub surrounds, creating continuous barriers that direct water into drains rather than into wall cavities or subfloors.
Waterproofing extends beyond visible wet areas, with best practices requiring protection 6 inches beyond shower curtain lines and completely surrounding tub decks. Corners, seams, and penetrations receive additional reinforcement with waterproofing fabric, creating watertight transitions that accommodate structural movement without cracking.
| Waterproofing Location | Method | Coverage Area |
| Shower walls | Liquid membrane + fabric | Floor to ceiling |
| Shower floor | Pan liner or liquid system | Entire floor + 6" up walls |
| Tub surround | Sheet membrane or liquid | 6" above tub rim minimum |
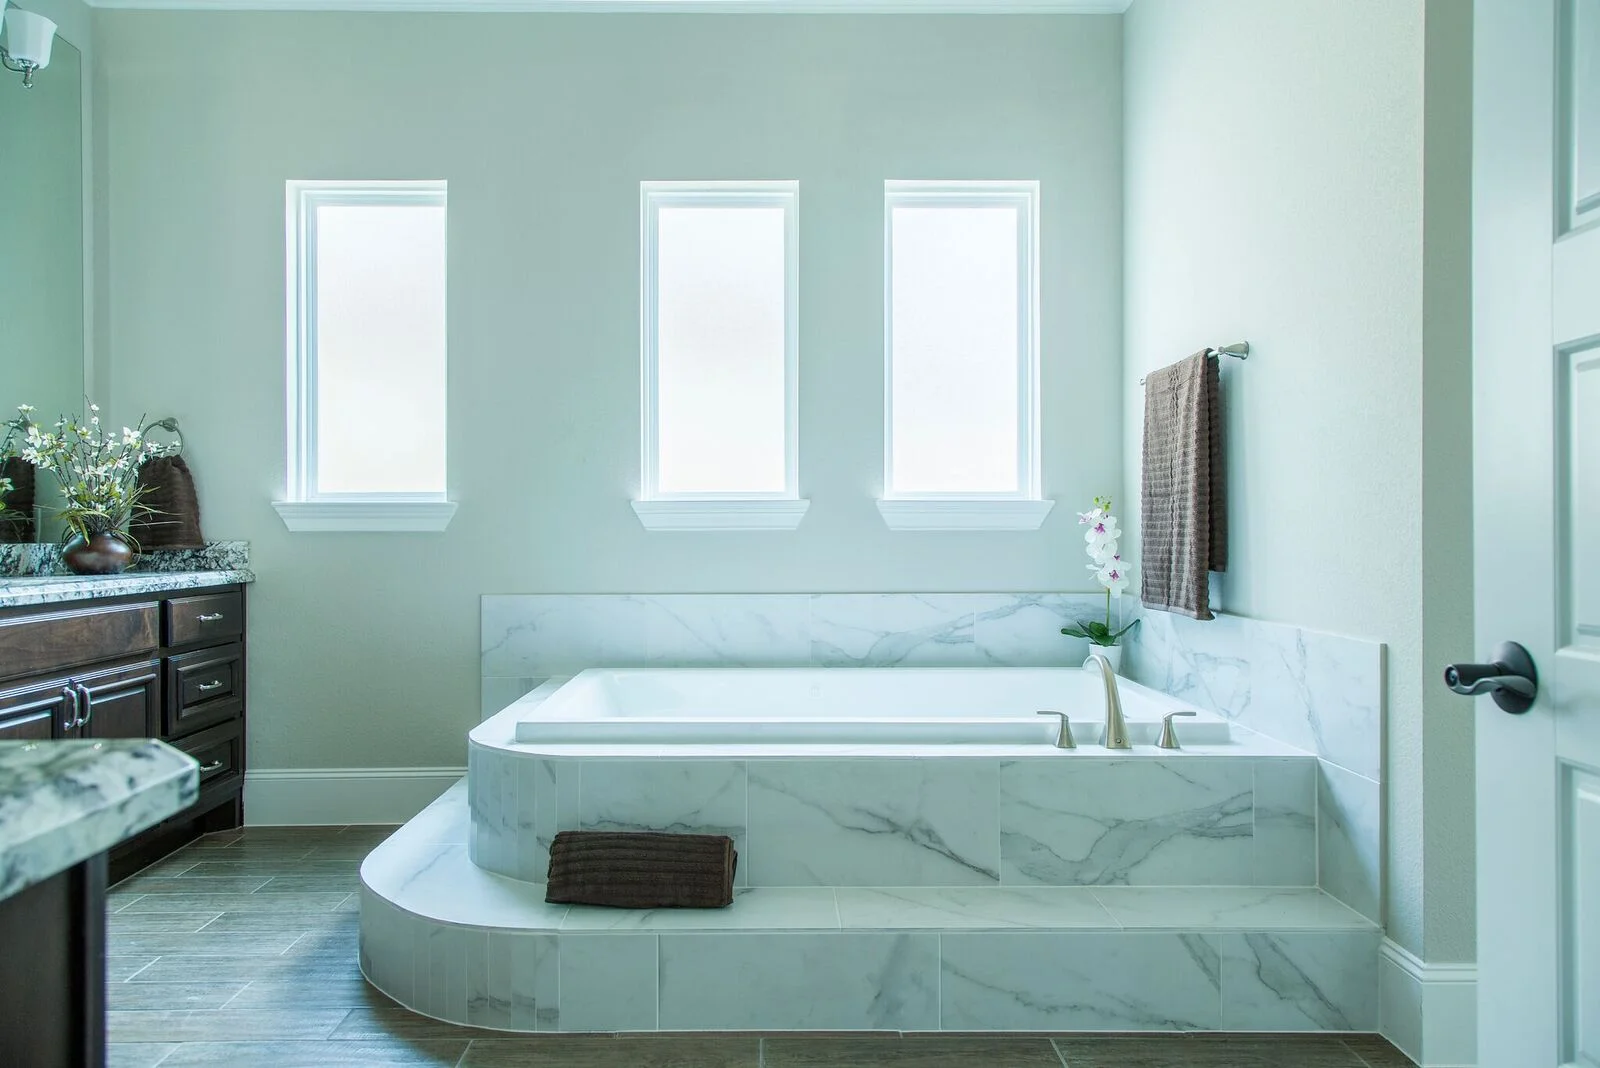
Heavy fixtures like bathtubs and shower bases install immediately after wall boarding and waterproofing but before wall tiling or finish work. This sequence allows contractors to position bulky items through door openings and maneuver them into place before surrounding finishes limit access. Professional installers level tubs precisely, secure them to wall studs, and verify drain connections before proceeding.
Acrylic and fiberglass tub surrounds install as complete units during this phase, while custom tile showers receive only the base pan, with wall tiling occurring later. Protective covering applied immediately after installation shields surfaces from scratches, dropped tools, and construction debris throughout remaining work phases.
Once bathtubs and shower bases are positioned, heavy-duty protection prevents damage that would require costly replacement. Contractors use specialized tub liners, cardboard reinforced with plywood, or foam padding secured with painter's tape, creating barriers that absorb impacts without damaging fixture surfaces. This protection remains in place until final cleaning, typically just before client walkthroughs.
Drain openings receive temporary caps preventing debris from entering plumbing systems, which could cause clogs or damage to p-traps and drain lines. Shower valve trim remains uninstalled during this phase, with only rough valve bodies in place behind walls, protecting expensive finishes from scratches or theft on active job sites.
With major fixtures positioned and protected, wall finishing begins with taping, mudding, and sanding drywall seams to create smooth surfaces ready for paint. Professional installers apply primer and at least two coats of bathroom-specific paint formulated to resist moisture, mildew, and humidity. Semi-gloss or satin finishes perform better than flat paint in bathrooms, offering easier cleaning and better moisture resistance.
Painting occurs before flooring installation, allowing drop cloths to protect subfloors rather than finished tile or luxury vinyl. This sequence also permits painters to work efficiently without taping around installed flooring, reducing labor costs and improving finish quality.
After paint cures for 24-48 hours, tile installation begins with shower walls and tub surrounds, progressing to feature walls or wainscoting before addressing floors. Starting with vertical surfaces prevents foot traffic from damaging freshly set floor tile and allows installers to work from top to bottom, minimizing mortar drips onto finished surfaces.
Professional tile setters use laser levels ensuring perfectly plumb walls and level floors, critical for luxury installations featuring large-format tiles or intricate patterns. Thin-set mortar requires proper trowel sizes matched to tile dimensions, with notch depth determining coverage and bond strength. Grout selection considers stain resistance, with epoxy grout offering superior performance in high-moisture areas despite higher material and labor costs.
Tile Installation Best Practices:
• Allow thin-set mortar to cure 24-72 hours before grouting
• Use unsanded grout for seams narrower than ⅛ inch
• Apply grout sealer 48-72 hours after grouting completes
• Install transition strips between bathroom flooring and adjacent spaces
• Plan tile layouts minimizing small cuts in visible locations
• Select slip-resistant floor tiles with COF ratings above 0.50
| Tile Type | Installation Time | Curing Period |
| Shower wall tile | 1-2 days | 24-48 hours |
| Floor tile | 1 day | 48-72 hours |
| Decorative accent tile | 4-8 hours | 24 hours |
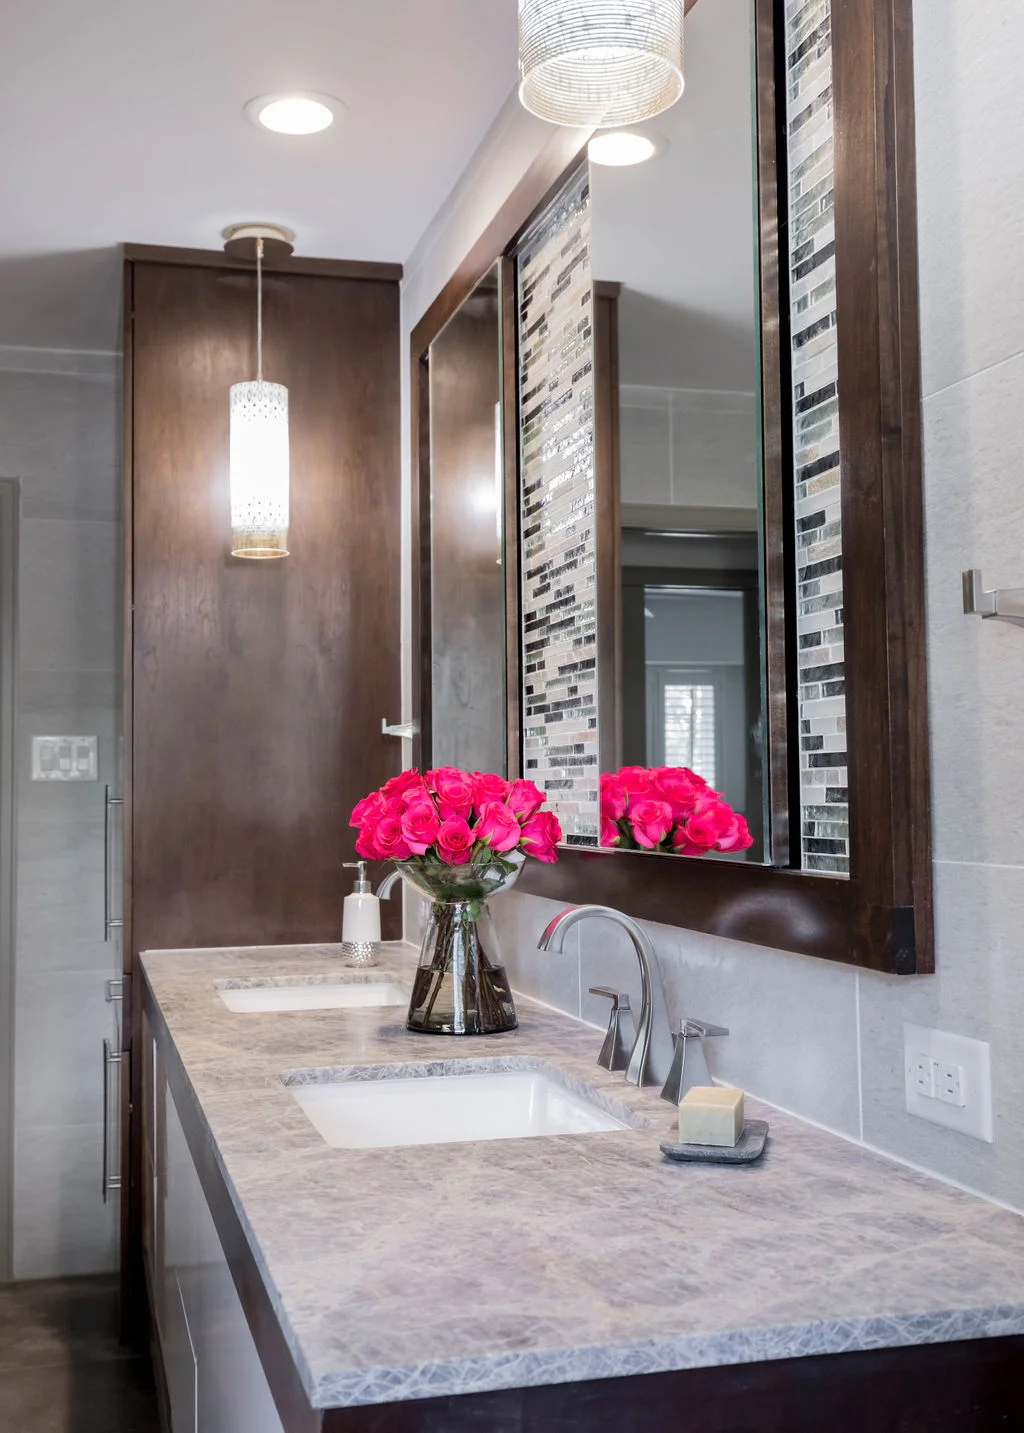
Once tile installations cure completely, vanity cabinets and countertops install, establishing storage and surface areas essential for bathroom functionality. Professional installers level cabinets precisely, shim as necessary, and secure them to wall studs with appropriate fasteners rated for moisture exposure. Countertop materials ranging from granite and quartz to solid surface and laminate require different installation techniques, with natural stone demanding additional structural support due to weight.
Faucet and drain rough-in occurs during this phase, with supply lines and drain assemblies positioned according to fixture specifications. Under-mount sinks install before countertop placement in stone installations, while drop-in sinks mount after countertops are secured. Silicone caulking creates waterproof seals between countertops and walls, preventing moisture from reaching cabinetry or wall structures.
With all finishes in place and cured, final fixture installation completes the bathroom remodel. Toilets, sinks, faucets, shower trim, towel bars, mirrors, and lighting fixtures install during this phase, transforming the space from construction zone to functional bathroom. Licensed plumbers connect water supply lines and test all fixtures for proper operation and leak-free performance.
Electrical fixtures including vanity lighting, exhaust fans, and GFCI outlets receive cover plates and final connections, with circuit testing confirming proper operation and ground fault protection. Mirror installation requires careful positioning and secure mounting, particularly for large or heavy framed mirrors that could cause injury if improperly secured.
Before final inspection, contractors conduct comprehensive testing verifying every system functions correctly. Toilets flush properly without clogs or leaks, faucets deliver appropriate water pressure and temperature, drains clear quickly without backup, and exhaust fans operate quietly while achieving rated airflow. GFCI outlets trip appropriately when tested, lighting provides adequate illumination, and all hardware operates smoothly.
Water supply shutoff valves receive testing to ensure they close completely and operate without excessive force, critical for emergency situations requiring quick water shutdown. Shower valves balance hot and cold water properly, with anti-scald features preventing dangerous temperature spikes that could cause burns.
| Fixture Type | Testing Protocol | Acceptance Criteria |
| Toilets | 3 consecutive flushes | No leaks, complete bowl clearing |
| Faucets | Hot/cold operation | Proper temp mixing, no drips |
| Shower valves | Full range testing | Balanced temperature, no leaks |
How long does a complete bathroom remodel take in Tomball?
Most bathroom renovations require 3-6 weeks from demolition through final inspection, depending on scope and material availability. Simple cosmetic updates with minimal plumbing changes complete in 2-3 weeks, while extensive remodels involving layout changes, custom tile work, or structural modifications extend to 6-8 weeks. Permit processing adds 10-14 days before construction begins, and inspection scheduling can introduce delays of 2-3 days between phases if not coordinated efficiently with Tomball's building department.
Can I use my bathroom during a remodel?
Complete bathroom remodels require the space remain non-functional from demolition through final fixture installation, typically 3-6 weeks. Once plumbing and electrical rough-in begins, water and power disconnect, making the bathroom unusable. Homes with multiple bathrooms should designate an alternate space for daily use, while single-bathroom homes may require temporary arrangements with family or friends. Some contractors offer expedited schedules for single-bathroom homes, coordinating work to minimize downtime, though this typically increases labor costs by 15-20%.
What permits does Tomball require for bathroom remodeling?
Tomball requires building permits for bathroom remodels involving plumbing modifications, electrical work beyond simple fixture replacement, or structural changes including wall removal or door relocation. Permit applications submitted to the city building department include detailed plans showing fixture locations, plumbing configurations, and electrical layouts. Typical permit costs range from $150-$400 depending on project scope, with inspections required after rough-in work and again upon project completion before occupancy approval.
Should I install heated floors during my bathroom renovation?
Radiant floor heating installs during the rough-in electrical phase before flooring placement, making bathroom remodels the ideal opportunity to add this luxury feature. Electric mat systems cost $8-$15 per square foot installed and provide comfortable warmth underfoot, particularly appreciated during cold Texas winter mornings. The system requires dedicated electrical circuits and programmable thermostats, with installation adding 1-2 days to project timelines but significantly enhancing bathroom comfort and home resale value.
How do I prevent mold in my newly remodeled Tomball bathroom?
Mold prevention begins with proper waterproofing during construction, including continuous moisture barriers behind tile, adequate exhaust ventilation rated at 50+ CFM, and moisture-resistant materials like cement board in wet areas. Post-construction, run exhaust fans during showers and for 20-30 minutes afterward, promoting air circulation that reduces humidity below mold-growth thresholds. Regular cleaning with mildew-resistant products, resealing grout annually, and promptly repairing any plumbing leaks prevents moisture accumulation that fosters mold development in Houston's humid climate.
What's the most important step in bathroom installation order?
Rough-in plumbing and electrical work represents the most critical phase since errors become exponentially expensive to correct after walls close. Precise measurements, code-compliant installations, and thorough inspections during this stage prevent costly demolition and rework later. Professional contractors allocate extra time verifying fixture positions, testing all connections, and ensuring inspector approval before proceeding, recognizing that quality rough-in work establishes the foundation for every subsequent installation phase and long-term bathroom performance.
Successfully remodeling a bathroom demands methodical progression through each installation phase, from initial planning and permit acquisition through final inspections and fixture testing. Following the proper sequence protects your investment, ensures code compliance, and delivers professional results that enhance your home's functionality and value for decades. Skipping steps or attempting to accelerate timelines by reordering work phases inevitably leads to complications, failed inspections, or premature failure of materials and systems.
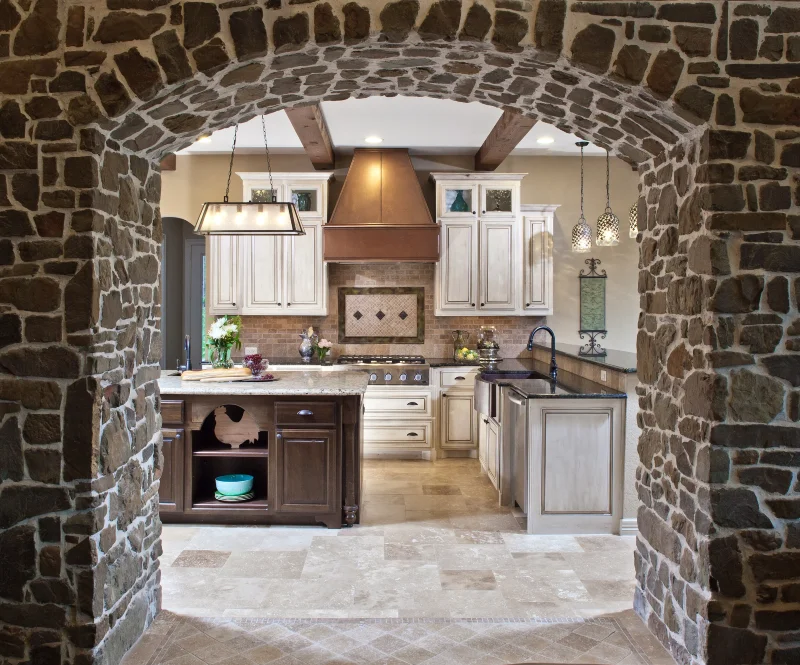
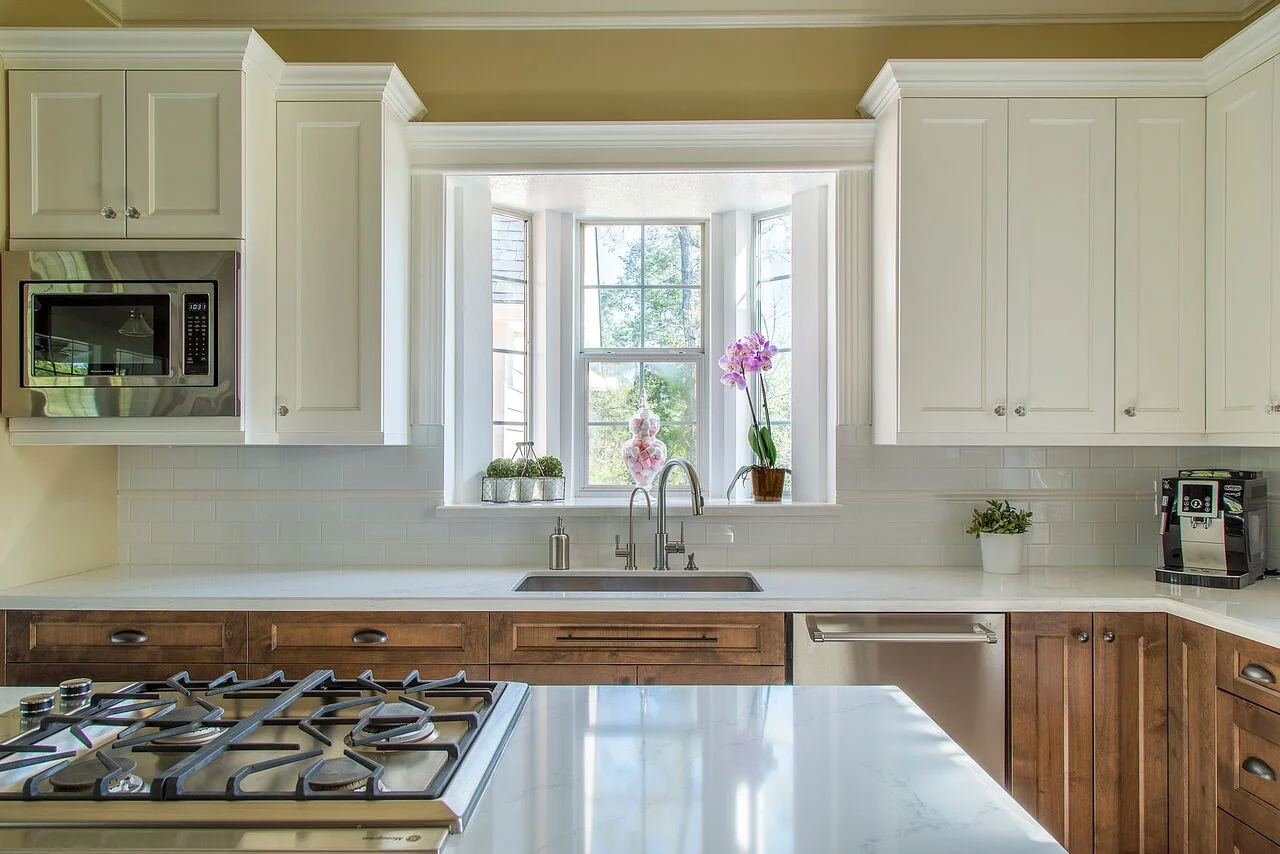
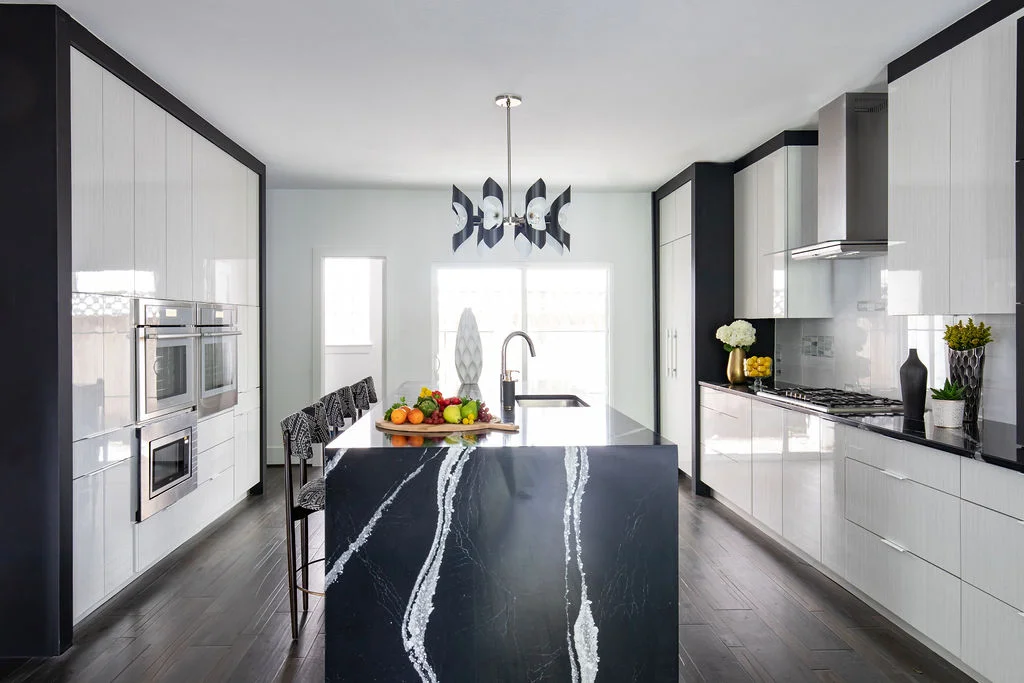
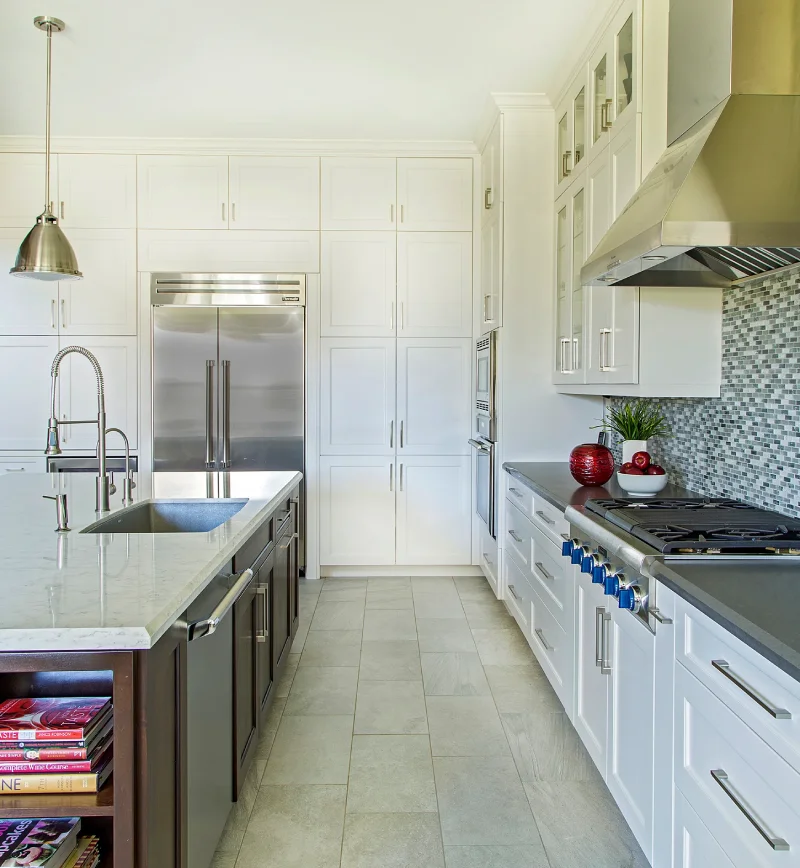
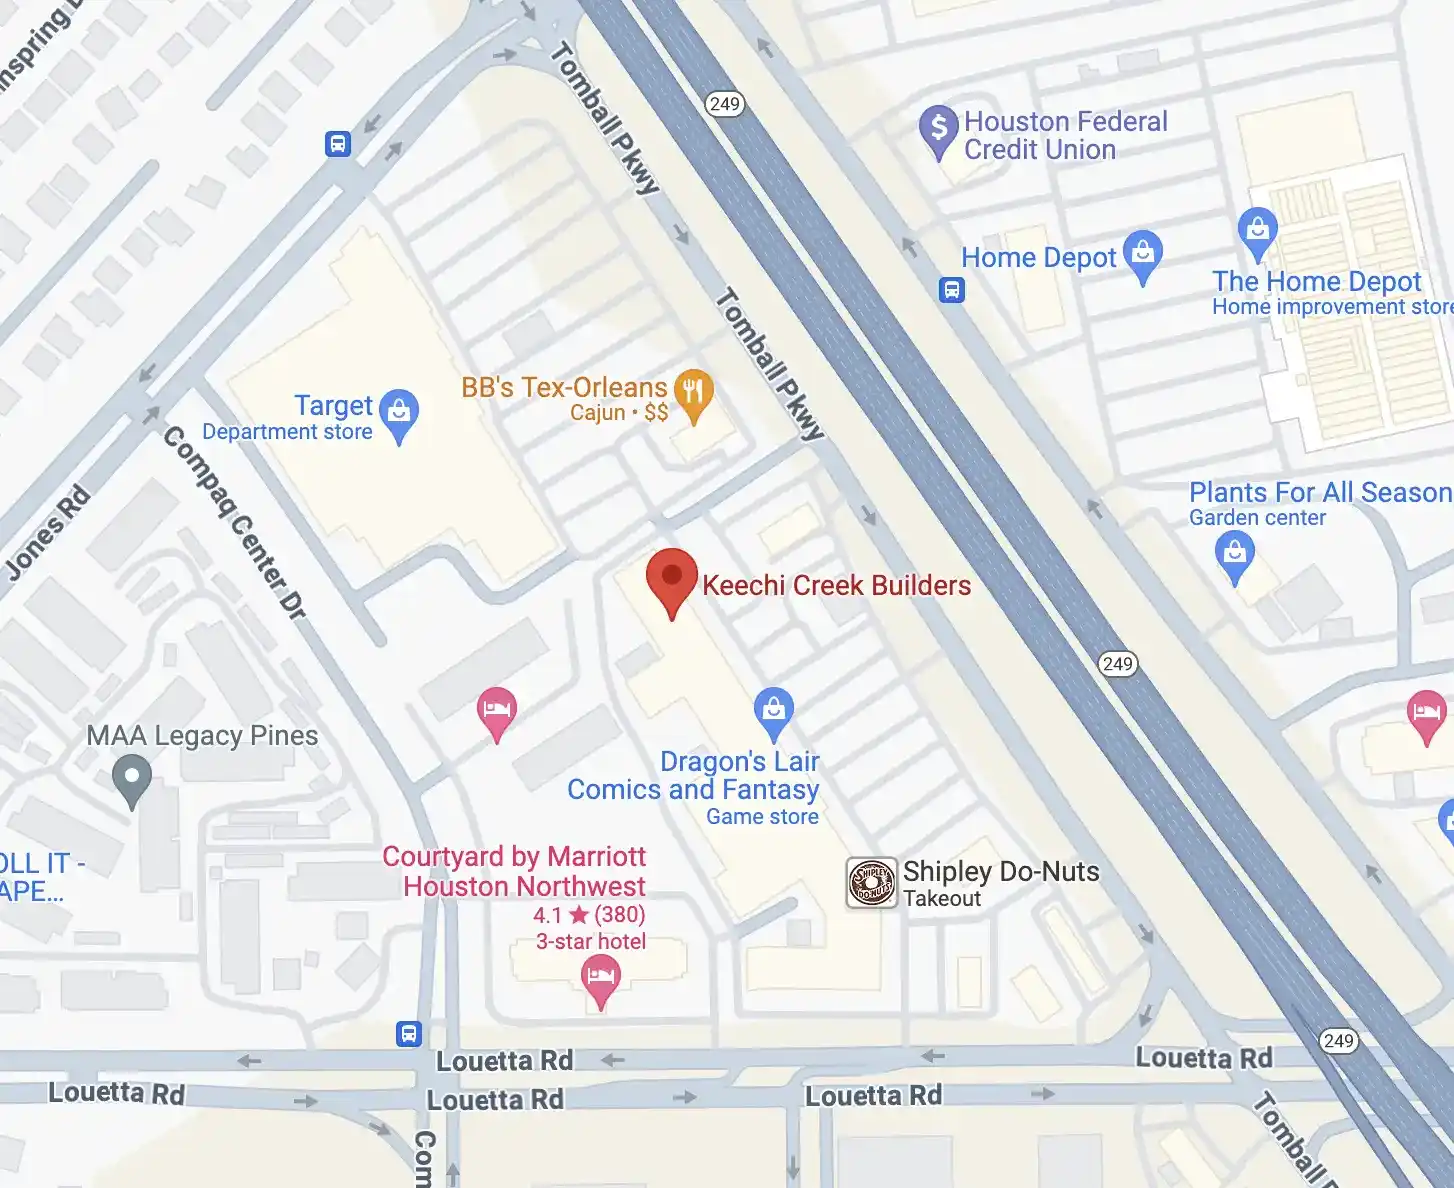
Keechi Creek Builders brings decades of experience executing luxury bathroom remodels throughout Tomball and greater Houston, delivering white-glove service and unparalleled craftsmanship that transforms ordinary spaces into stunning retreats. Whether you're planning a complete bathroom renovation or exploring kitchen remodeling in Tomball, Texas, our comprehensive design/build approach manages every detail from concept through completion, ensuring your project exceeds expectations while adhering to proper installation protocols and local building requirements. Contact us at 281-688-1454 or visit our office at 21175 TX-249 #328, Houston, TX 77070 to discuss your bathroom remodeling vision and discover how our expertise creates spaces that reflect your style while standing the test of time.